
A pre-slab inspection during new foundation construction is your one chance to catch problems before thousands of pounds of concrete seal them in permanently. Once the concrete is poured, everything beneath it, including your plumbing lines, vapor barrier, rebar placement, and soil preparation, is gone from sight forever.
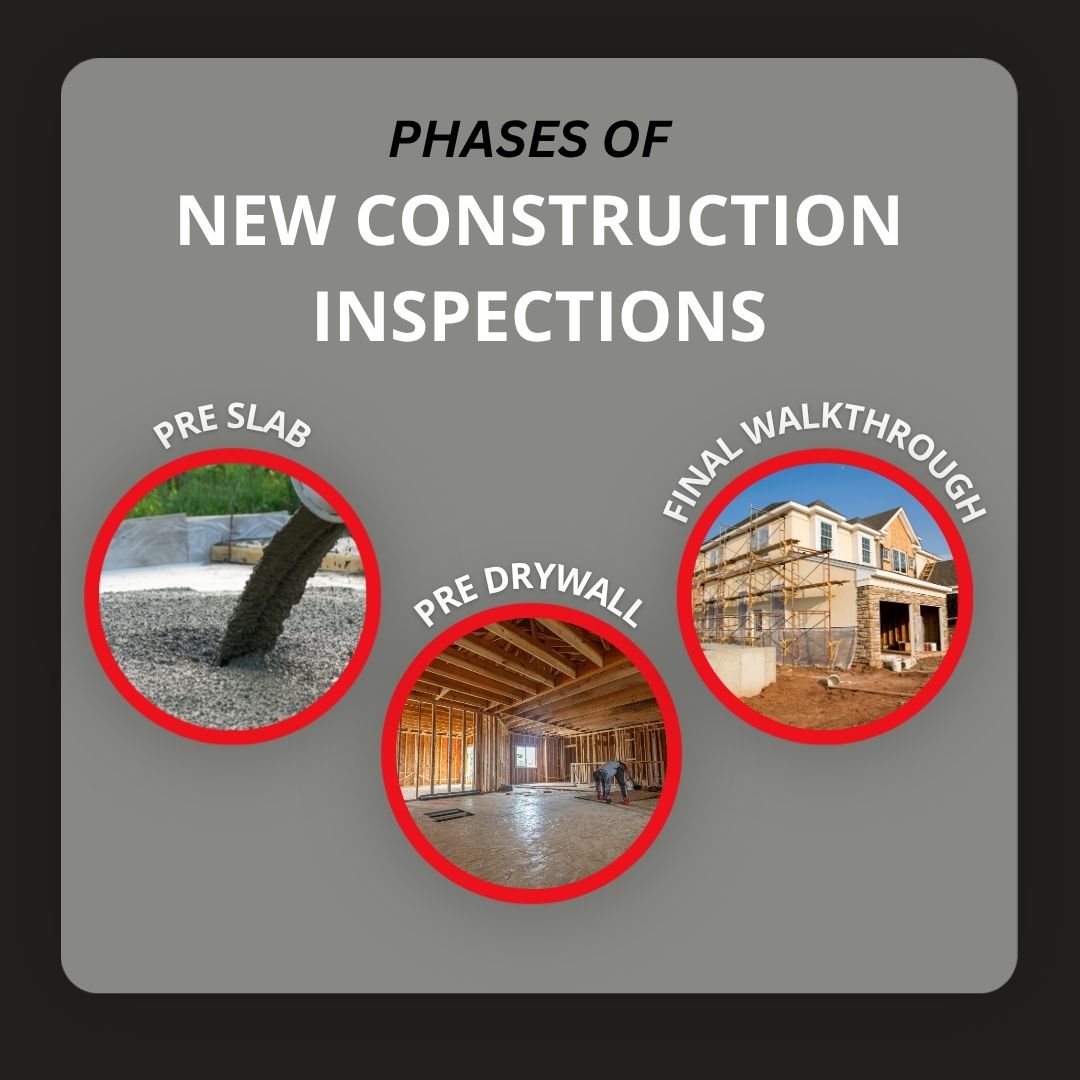
At Harmony Home Inspection Services, we perform phase inspections at three critical points during new home construction across Metro Atlanta and North Georgia. This post walks through each phase so you know what to expect and why none of them should be skipped.
What Happens During New Foundation Construction?
New foundation construction is the process of preparing and pouring the concrete slab that your home sits on. Builders grade the land, compact the soil, lay out the form boards, position the rebar and post-tension cables, run under-slab plumbing lines, and install a moisture barrier before any concrete is poured. Each of those steps has to be done correctly, or the foundation will fail over time.
The tricky part is that the county’s code inspector typically checks the work quickly and focuses on minimum code compliance. That pass is necessary, but it does not guarantee quality workmanship or that every component was installed correctly.
Why the Foundation Phase Is the Riskiest
Foundation repairs are among the most expensive problems a homeowner can face. Fixing a slab issue after the home is built often means breaking through floors, relocating plumbing, or, in serious cases, stabilizing the structure with piers. A single missed item before the pour, like a torn vapor barrier or incorrectly placed rebar, can cost tens of thousands of dollars to correct years later. That is why a third-party pre-slab inspection matters.
What Is a Pre-Slab Inspection and What Does It Check?
A pre-slab inspection is a review of your home’s foundation preparation performed by an independent inspector right before the concrete is poured. The goal is to confirm that the site is ready and that all required components are in place and installed correctly.
As noted by construction inspection experts, the purpose of an independent pre-slab inspection is to provide a second set of trained eyes before your foundation is permanently sealed, giving your builder the chance to correct any problems while it is still simple to do so.
This inspection is separate from what the builder’s own team reviews and separate from the municipal code inspection.
What a Pre-Slab Inspector Looks At
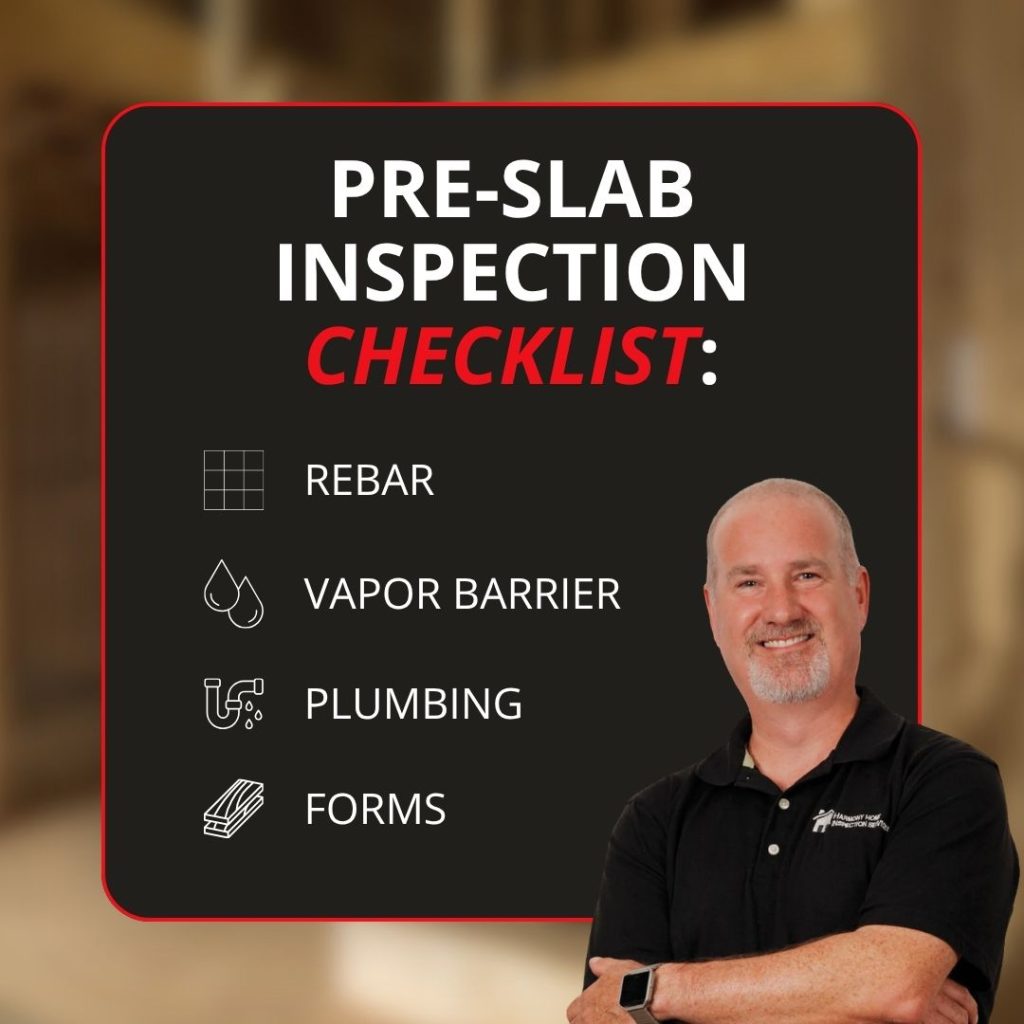
A thorough pre-slab inspection covers:
- Soil grading and compaction: The ground under your slab must be properly compacted. Unstable or poorly graded soil causes settling and cracking over time.
- Form board placement and bracing: The wood forms that shape the slab edge need to be correctly positioned and braced so the concrete pours into the right shape.
- Rebar and post-tension cables: Rebar must be sized and spaced per the engineering drawings. If post-tension cables are used, their placement and coverage must match manufacturer specifications.
- Vapor barrier: A polyethylene moisture barrier goes beneath the slab. If it is missing, torn, or improperly lapped, moisture from the ground will rise through the concrete and into your home.
- Under-slab plumbing: Drain lines, water supply lines, and plumbing cleanouts must be correctly placed and supported. Once concrete is poured, relocating them becomes a major project.
- Beam widths and depths: The dimensions of the beams within the slab must match the structural drawings. Reduced sizing weakens load-bearing capacity.
- Termite pre-treatment: Many Georgia counties require documentation of termite soil treatment before a slab is poured. An inspector confirms treatment was completed and documented.
Per InterNACHI’s standards for new construction inspections, a qualified third-party inspector looks beyond code minimums to evaluate workmanship and adherence to the engineering plan, not just whether the minimum bar was cleared.
Phase 2: The Pre-Drywall Inspection
The pre-drywall inspection is the second phase of inspection during new construction. It takes place after the framing, electrical rough-in, plumbing rough-in, and HVAC systems are installed, but before insulation and drywall go up.
This is the last time anyone will be able to see inside your walls. Once drywall is installed, these systems are permanently hidden and extremely expensive to access if something goes wrong.
What Gets Checked Before the Walls Close
A Harmony pre-drywall inspection covers every major system that will be concealed:
| Inspection Category | Key Focus Areas | Why It Matters |
| Framing | Floor joists, roof trusses, wall studs, shear walls, and load path connections. | Ensures structural integrity, correct installation, and proper nailing patterns. |
| Electrical Rough-in | Box placement, wire routing, ground fault zones, and panel connections. | Verifies code compliance and long-term fire safety. |
| Plumbing Rough-in | Pipe slope, supports, drain-waste-vent (DWV) lines, and pressure testing. | Critical: Improper pipe slope causes chronic clogs and backups for the life of the home. |
| HVAC Rough-in | Duct layout, return air sizing, and equipment location. | Confirms the system is sized correctly for the home’s actual square footage. |
| Windows & Doors | Leveling of frames, flashing installation, and gap sealing. | Prevents water intrusion and mold growth behind the siding. |
| Fire Blocking | Code-required materials and draft stopping in wall/ceiling cavities. | Limits the ability of fire to travel through hidden cavities; a common construction deficiency. |
| Insulation | Coverage gaps and placement in specialized areas. | Prevents significant energy loss and “cold spots” once the walls are sealed. |
Harmony provides a sample pre-drywall phase inspection report on our website so you can see exactly how findings are documented.
If you are curious how drywall itself can become a diagnostic tool later in the home’s life, our post on what drywall is made of and how inspectors spot problems explains what hidden moisture and structural stress look like once the walls are already up.
Phase 3: The Final Walkthrough Inspection
The final walkthrough inspection happens after construction is complete, right before you close on the home. Most builders offer their own walkthrough at this stage, where a superintendent walks you through the home and notes any cosmetic items on a “blue tape” list.
That builder walk is useful. It is not a substitute for a third-party inspection.
Importance of a Final Walkthrough
A certified inspector at the final walkthrough goes well beyond cosmetic items. At this stage, they test every system and evaluate the quality of workmanship from the outside in:
- Exterior grading and drainage: The ground around your home must slope away from the foundation. Improper grading is one of the most common causes of basement and crawl space moisture problems. Final walkthrough is the best time to document and request corrections before closing.
- Roof and gutters: Shingle installation, flashing at penetrations, and gutter alignment are evaluated.
- All mechanical systems: HVAC is operated in both heating and cooling modes. The water heater is checked for installation and venting. Electrical panel, GFCI outlets, smoke, and carbon monoxide detectors are all tested.
- Plumbing: Every fixture is tested for function. Inspectors check for leaks at supply and drain connections that may have been disturbed during drywall installation.
- Doors and windows: All doors and windows are operable. Binding, misalignment, and improper sealing are documented.
- Finish quality: Walls, ceilings, floors, trim, and paint are evaluated for workmanship quality. Nail pops, drywall seams, and unfinished areas are noted.
The NAHB’s guidelines on new home construction quality standards define the tolerances builders are expected to meet. A trained inspector uses those benchmarks to distinguish cosmetic variation from a legitimate defect that warrants correction.
One critical note: push back if your builder asks you to close and handle corrections under warranty afterward. Warranty work on occupied homes often takes far longer to schedule than pre-closing punch list items. Identify issues before you sign.
Schedule your new construction phase inspections with Harmony to have all three phases covered by the same inspector who knows your home’s history from the ground up.
Related Questions to Explore
- How long does a pre-slab inspection take? Most pre-slab inspections take one to two hours, depending on the size of the home and the complexity of the foundation design. You should schedule it as soon as the builder completes site preparation and before the concrete pour is confirmed on the schedule. Slab pours happen quickly, and rescheduling a pour is costly, so contact your inspector as early as possible once the foundation prep is nearing completion.
- What happens if a problem is found before the concrete is poured? The inspector documents the issue in a written report with photos. You or your agent shares the report with the builder and requests correction before the pour date. Most pre-slab deficiencies, like a torn vapor barrier or improperly spaced rebar, are relatively quick for a crew to fix before any concrete is placed. Finding them at this stage costs far less than correcting them after the slab is in place.
- Can I skip the pre-drywall inspection if my builder has a good reputation? Even the best builders have subcontractors working on multiple jobs at once. A reputable builder is not a substitute for an independent review. Pre-drywall is the only phase where your electrical, plumbing, HVAC, and framing are all visible at the same time. There is no other window.
- When should I schedule each phase inspection for new construction? Schedule pre-slab inspections before the concrete pour and pre-drywall checks after framing, but before insulation. Conduct your final walkthrough a few days before closing to allow for corrections, ensuring you notify your builder early to accommodate these independent reviews. Communicate with your builder’s superintendent early so they know you are scheduling independent inspections. Any reputable builder will accommodate this.
- What is included in a new construction final walkthrough inspection? A final walkthrough inspection covers the full exterior, all mechanical systems, interior finishes, all doors and windows, appliances, garage door operation, and safety devices, including smoke and CO detectors. You receive a written report with photos within 24 hours, which you can use directly with your builder and real estate agent before closing.
When to Call a Professional Inspector
You should schedule a professional third-party inspector any time a code inspection alone would be your only quality review. That means all three phases of new construction: pre-slab, pre-drywall, and final walkthrough.
Beyond the three standard phases, consider a one-year warranty inspection before your builder’s new construction warranty expires. Most new home warranties cover structural defects for up to ten years and systems like HVAC and plumbing for one to two years. A warranty inspection at the eleven-month mark catches anything that has developed since closing, while the builder is still obligated to fix it under warranty.
Harmony Home Inspection Services has performed phase inspections across Metro Atlanta and North Georgia since 2004. Our inspectors include Andrew Schlehr, B-1 certified for residential new construction, who brings a background in HVAC and electrical, and Hank Spinnler, ASHI certified with 25 years of prior construction experience. We also offer thermal imaging with every inspection at no additional charge.
If you are planning new construction or are already mid-build in Dawsonville, Cumming, Gainesville, Hoschton, Buford, or anywhere in the Metro Atlanta area, reach out to the Harmony Inspection Services team to set up your phase inspection schedule.
Conclusion
New foundation construction is one of the most important building phases your home will go through, and it is also the most permanent. Once concrete is poured, pre-drywall is sealed, and finishes are complete, the ability to verify what is inside your home disappears. Three inspections protect you at every stage:
- A pre-slab inspection before the concrete pour confirms that soil prep, rebar, vapor barrier, and plumbing are correct.
- A pre-drywall inspection reviews framing, electrical, plumbing, and HVAC while they are still visible.
- A final walkthrough inspection tests every system and catches workmanship issues before you close.
No house is perfect, and even well-built homes have things that need attention. The goal of every Harmony inspection is to give you clear, documented information so you can proceed with confidence. Ready to schedule your new construction phase inspections? Request your inspection here.