
A slow or leaking shower drain is worth replacing before it causes water damage to the subfloor, ceiling below, or surrounding tile. The process is manageable as a DIY project when you have the right tools and know the signs that say stop and call a plumber. Here is how to replace a shower drain step by step.
Signs Your Shower Drain Needs Replacing
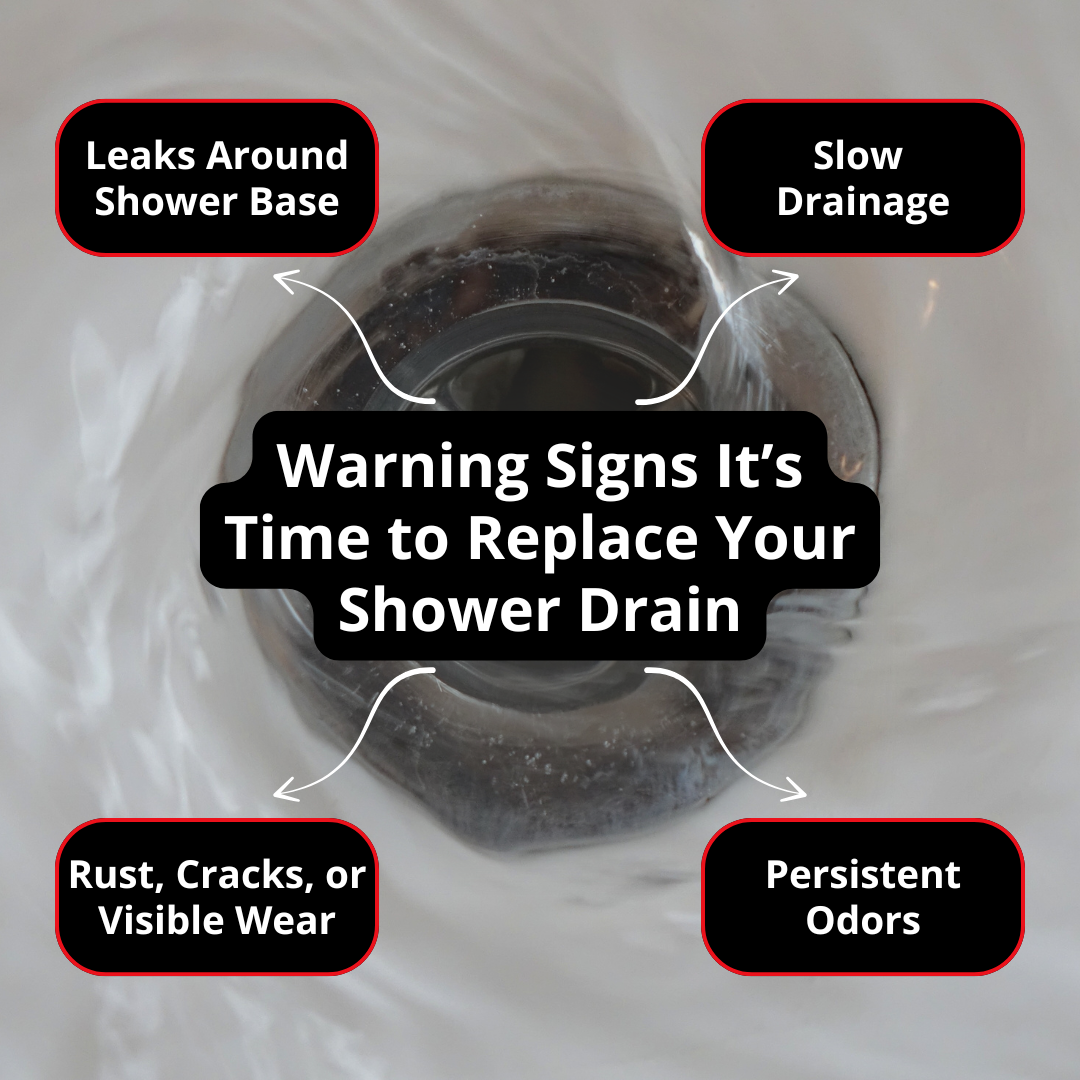
A drain that can be cleaned out does not need to be replaced. But some problems require a full replacement rather than snaking or chemical treatment:
| Warning Sign | What to Look For | What’s Likely Happening |
| Slow Drainage | Shower drains slowly despite clearing hair and surface debris. | Compromised drain body, gasket, or deep pipe connection. |
| Rust or Cracks | Rust on metal components or cracks in plastic (often from tile/grout movement). | Physical degradation requires full drain replacement. |
| Water Damage Below | Ceiling stains downstairs, soft flooring, or musty smells near the shower base. | Failed drain seal causing active structural leaks. (Immediate attention needed) |
| Persistent Odors | Foul sewage smells remain even after a thorough cleaning. | Dry or degraded P-trap, cracked drain body, or failed gasket seal. |
Standard shower drains last 15 to 20 years. If yours is older or showing these symptoms, replacement is the right call.
Tools and Materials You Will Need
Gather everything before you start. Having to stop mid-project to find a tool creates unnecessary delays and complications.
- Flathead screwdriver (for drain cover removal)
- Needle-nose pliers or a drain removal tool (a drain wrench from a hardware store is ideal for threaded drains)
- Adjustable pliers or channel-lock pliers
- Utility knife (if the drain is sealed with silicone)
- Plumber’s putty or silicone sealant (match to your drain type, ABS drains require silicone only)
- Replacement drain kit matched to your drain type (threaded, no-caulk compression, or glue-in, depending on your shower base and pipe material)
- Plumber’s tape (Teflon tape) for threaded connections
- Penetrating oil (if the drain is corroded and stuck)
- Rags and a small bucket
How to Replace a Shower Drain: Step by Step
Step 1: Remove the Drain Cover
Most shower drain covers either unscrew, pop up, or pry off. Look for screws first. If there are none, the cover likely twists off counterclockwise or simply lifts. On pop-up stoppers, press down, then twist and pull counterclockwise.
Once the cover is off, inspect the drain body beneath it.
Step 2: Apply Penetrating Oil if the Drain Is Stuck
If the drain has not been removed in years, corrosion may make it very resistant. Apply penetrating oil generously to all visible threads or fittings and let it sit for ten minutes before attempting removal.
Step 3: Remove the Old Drain
For threaded drains (the most common type), insert needle-nose pliers into the openings on opposite sides of the drain and turn counterclockwise. A drain removal tool (drain wrench) makes this much easier and reduces the risk of slipping and scratching the shower base.
If the drain was sealed with silicone, use a utility knife to score around the flange before attempting to unscrew. This prevents tearing the shower base material.
Once the drain is out, use a screwdriver or putty knife to scrape away all old plumber’s putty, silicone, or caulk from the drain opening. Clean the surface thoroughly with soap and water. Any residue will prevent the new drain from sealing properly.
Step 4: Inspect the Drain Pipe
With the drain out, look at the drainpipe below. Check for cracks, corrosion, or signs of prior water damage. Verify that the pipe is clean and undamaged. If you see cracking or separation at a joint below the shower, this is a plumber’s job, and the issue goes beyond replacing the drain assembly.
Step 5: Prepare and Install the New Drain
- For threaded drains: Roll plumber’s putty into a rope about the diameter of a pencil and press it around the underside of the new drain flange. Apply Teflon tape to the threads. Insert the drain into the opening from the top and thread it clockwise until snug. Do not overtighten, as this can crack the flange or damage the shower base. Wipe away any putty that squeezes out from under the flange.
- For no-caulk compression drains: Insert the drain body from the top of the shower base, slide the rubber washer and compression nut onto the drain from beneath, and tighten using the provided wrench and a screwdriver. As you tighten, the washer compresses against the pipe, creating the watertight seal.
- For glue-in or ABS drains: Apply ABS cement to the pipe and the inside of the drain inlet, insert the drain, and hold in place for the specified set time per the product instructions. Never use plumber’s putty with ABS drains, as it can damage the material.
Step 6: Install the Drain Cover and Test for Leaks
Reinstall the drain cover per the manufacturer’s instructions. Then run the shower for several minutes at full flow. Check underneath the shower by going to the floor below or the crawl space, or by observing around the drain base in the shower if accessible.
If you see any drips or feel moisture, tighten the drain a quarter turn and recheck. If leaking persists after tightening, the gasket or putty seal may need to be reapplied.
Pro tip: Do not run water on a silicone-sealed drain for at least 24 hours. Silicone requires full cure time to form a watertight bond.
When to Stop and Call a Plumber
Some scenarios go beyond a straightforward drain swap:
- The drainpipe is cracked, corroded, or separating. This requires pipe repair or replacement that involves access from below.
- The shower is tile or stone over a mortar bed. The drain assembly in these showers is integrated differently and typically requires professional handling to avoid cracking tile.
- You cannot access the underside of the drain. Some installations require ceiling access from the floor below to reach the drain connection.
- Water is leaking from somewhere other than the drain assembly. If the source is a supply line or a crack in the shower pan, no drain replacement will fix it.
Related Questions to Explore
-
If a drain issue is flagged on my inspection report, can it be fixed without tearing up the floor? Yes, standard fiberglass or acrylic drains can usually be swapped out completely from inside the shower stall. However, if we flag a leak in a custom tile shower, it typically requires cutting through the ceiling or subfloor below to replace the main drain body.
-
What does a shower drain replacement typically cost if found during an inspection? A standard drain kit costs $20 to $60 for DIYers, while a professional plumber typically charges $150 to $350. Finding this early on your Harmony Inspection report protects you from hidden water damage and rotted subfloors that cost thousands to fix.
-
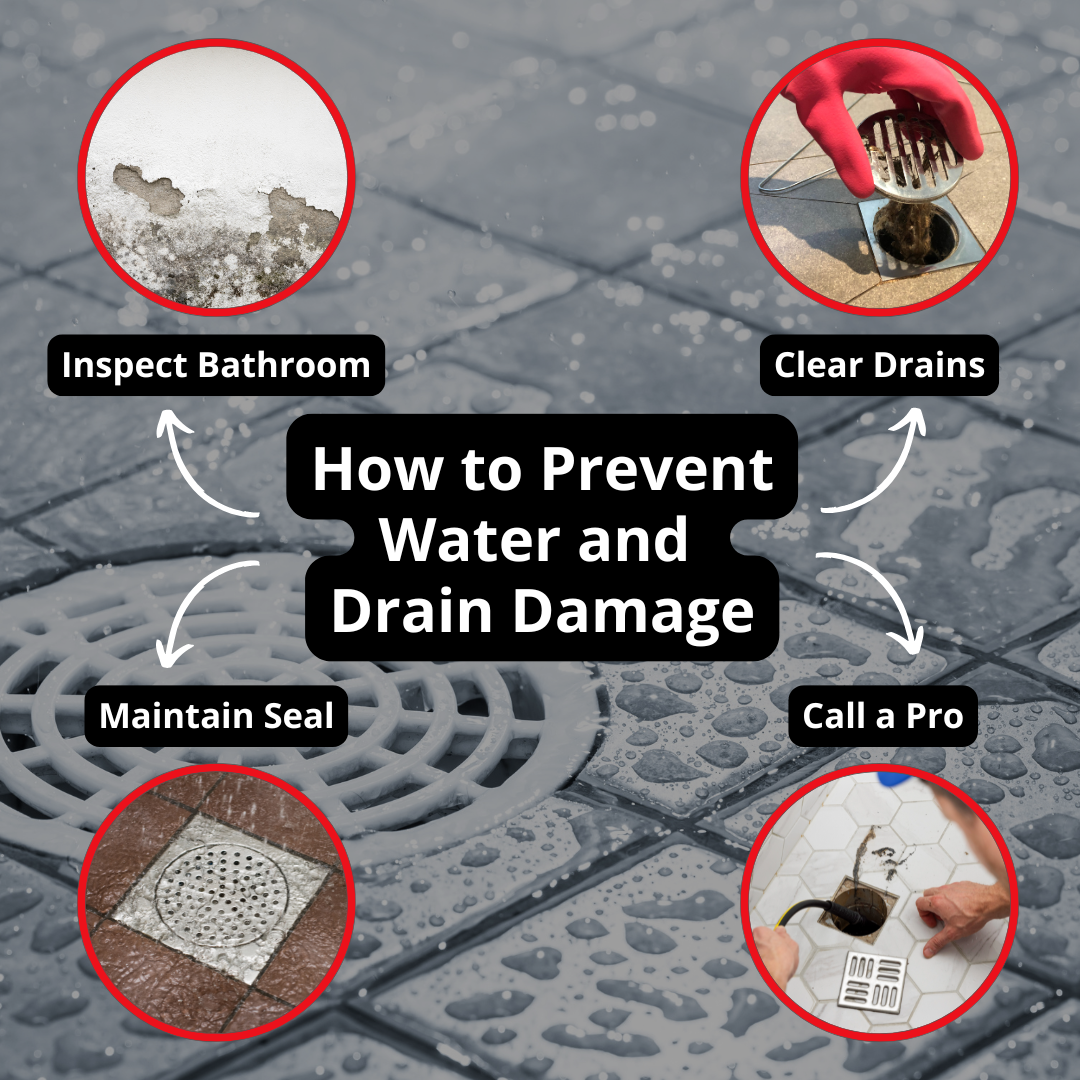
What are Harmony Inspection’s top tips for preventing drain clogs? We advise using a mesh screen to catch hair, flushing lines weekly with hot water to melt soap scum, and avoiding oil-heavy body products. For maintenance, use a monthly enzymatic cleaner rather than pipe-corroding chemical alternatives.
-
What are the most common causes of shower drain leaks found during inspections? Our inspectors frequently trace drain leaks back to dried-out plumber’s putty, cracked flanges from overtightened factory connections, or structural flexing in shower bases that weren’t properly set in a mortar bed.
Protect Your Home From Water Damage
Learn more about how our pre-purchase inspections protect buyers from costly surprises, and see what our process looks like from start to finish. The EPA estimates that household leaks can waste more than 10,000 gallons of water per year, with faulty plumbing fixtures and connections accounting for a significant share.
A failed shower drain is one of the most common causes of hidden water damage in residential homes. By the time water stains appear on a ceiling below a bathroom, mold growth inside the subfloor has often already started.
Conclusion
If you are seeing signs that your shower may be leaking, or if you want to verify the condition of your bathroom plumbing before buying a home, Harmony Home Inspection Services provides comprehensive home inspections that include bathroom plumbing, drainage, and water intrusion assessment. Our inspectors know where water damage hides, and our reports document every finding in detail.
Call or schedule online for your Harmony home inspection!